Create A Signature In Gmail
Creating a signature in Gmail is necessary in order to enhance the authenticity and protect your Gmail account.

Creating A signature in Gmail is necessary in order to enhance the authenticity and protect your Gmail account.
BENEFITS OF CREATING A SIGNATURE IN GMAIL
1. Allows you to be easily identified
When you send emails with your signature, the recipients will know your email id, contact numbers, and website details without spending time finding them. This makes your Gmail account become more professional and easier for others who want to find your information via Gmail Inbox
2. It can also be used as a business card.
A Gmail signature is similar to a business card or a visiting card in that it provides vital information to your recipients. You're giving your business contacts, friends, family, leads, prospects, clients, and other receivers more opportunities to reach you by using a Gmail signature.
3. Authenticity is provided
Your email can easily be marked as spam these days. That's bad for your business, personal relationships, and reputation. By convincing your recipients that your email is legitimate, a Gmail signature adds crucial authenticity.
HOW TO CREATE A SIGNATURE IN GMAIL
Select the Settings gear in your Gmail toolbar.
Select Settings > General.
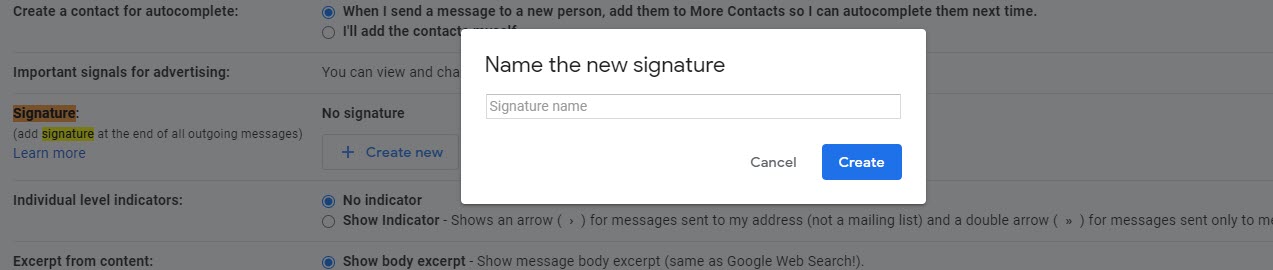
Under Signature, make sure the desired account is selected.
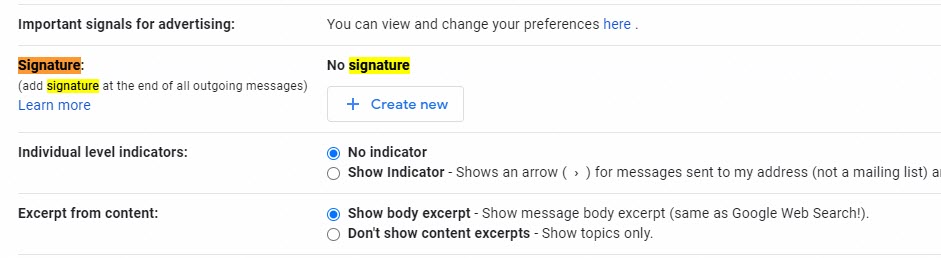
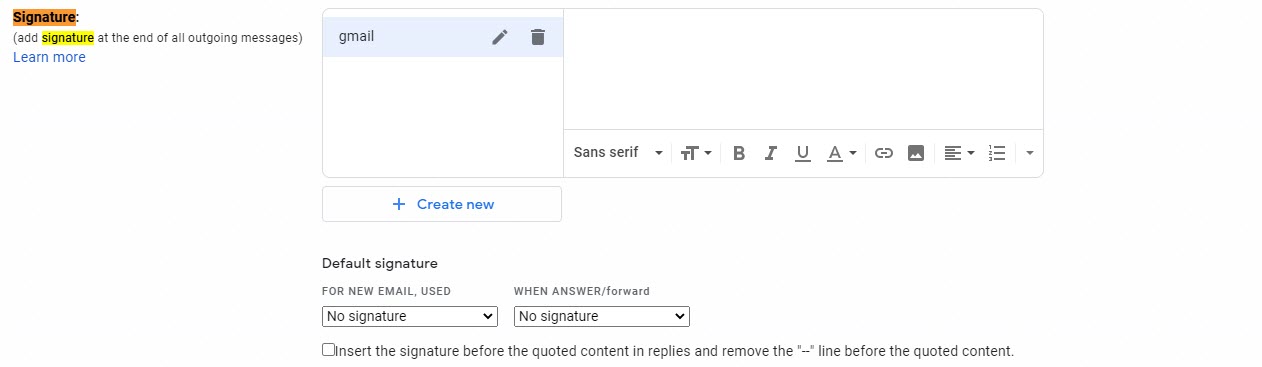
In the text field, type the desired signature. Keep your signature to roughly five lines of text at most. You don't need to include the signature separator; Gmail will handle it for you.
Use the formatting bar to add formatting or an image. Start a new message with rich-text formatting if you can't see the formatting bar and Save Changes
When you compose a message on Gmail, the signature will be added automatically. Before you click Send, you can amend or remove it.
In the upper-left corner, tap the menu symbol.
Scroll to the bottom of the page and click Settings.
At the top, select your email account.
Select Signature settings (iOS) or Signature settings (Android) (Android).
Toggle the signature to the on/enabled position on iOS. In the text space on Android, type your signature.
To save your changes and return to the previous screen on an iOS device, hit the back arrow. Select OK on Android.
NOTE
It is not hard to create a signature in your Gmail account. Remember:
- Go to Settings > General in Gmail. Type your preferred signature in the text field next to Signature. Select Save Changes from the drop-down menu.
- Select Insert this signature before at the bottom of the Signature box to add a signature above the original message in replies.
- Leave the text area blank and click Save Changes to erase your signature.