Forward Gmail Email Using Filters
After you create rules in Gmail by setting up a filter, you can forward Gmail emails easily and more conveniently.
After you create rules in Gmail by setting up a filter, you can forward Gmail emails easily and more conveniently. This article will help you know all steps to automatically set up email forwarding in Gmail by using filters.
HOW TO SET UP A FILTER TO FORWARD GMAIL EMAIL
GUIDE
- .
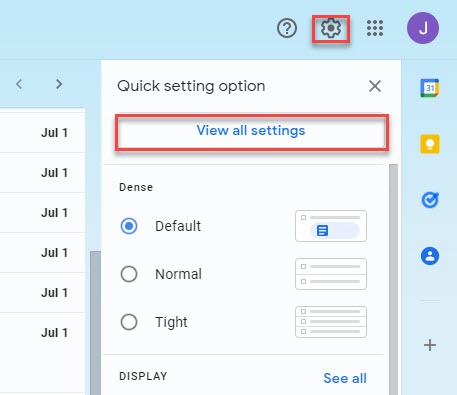
Select the Settings gear.
- .
Select See All Settings.
- .
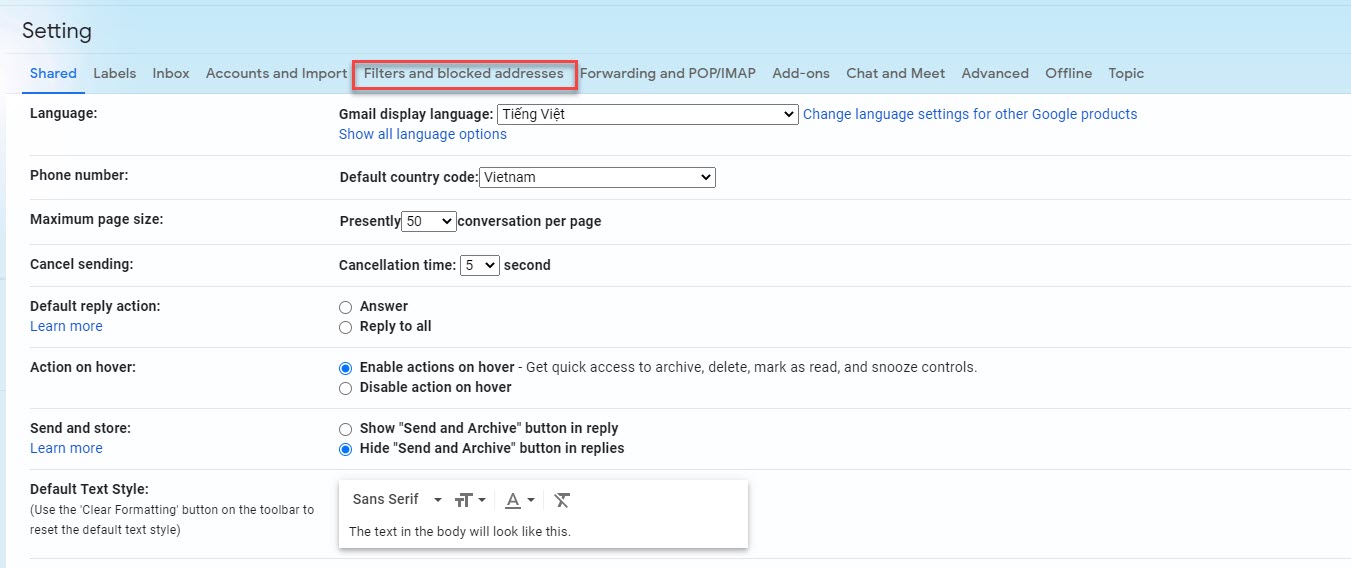
The Filters and Blocked Addresses tab should be selected.
- .
Select Create a new filter.

- .
To forward an email, enter the criteria you want to use. For instance, write @ in the From field to forward all mail (like conventional Gmail forwarding does). Enter the email address, name, domain, or any combination of these next to the word "From" to forward mail from that particular sender. Select Create filter once you're finished.
If you don't already have one set, click Add forwarding address in the following window, or use the menu to choose one of your preset addresses.
- .
By checking the Forward it to box and selecting the recipient's address from the drop-down menu, you can send these messages to that address.
- .
Decide to Create filter. Email that satisfies your criteria will be forwarded to this address.
HOW TO TURN OFF FORWARDING
Click the Settings gear
Gmail's Settings menu Select From the drop-down menu, select See All Settings.
Choose Forwarding and POP/IMAP tab.
Select Disable Forwarding from the Forwarding section.
Click Save Changes.
HOW TO DELETE A FILTER
From the drop-down menu, choose See All Settings.
In Gmail, choose Filters and Blocked Addresses then click "See all settings."
To modify a filter's settings, click Edit next to it. To remove a filter entirely, click Delete.
Choose OK or Update Filter.

